Tools
Jump to a Section: Hammer, Hoe, Axe, Watering Can, Sickle, Fishing Rod & Fishing Pole, Brush, Bell, Milker, Clippers, Maker Machines, Mayonnaise Maker, Cheese Maker or Yarn Maker
You start Harvest Moon: Back to Nature with several tools and the rest you have to purchase from various stores.
Your five main tools can also level up and become more efficient. To level up your tools you have to use it repeatedly and it’s power level will slowly increase. You can see how much you’ve leveled your tools in the start menu. You will see a percentage and every 100% is one upgrade past your tools current level.
So for example if you use your hammer enough and get it’s power level up to 100% that means it’s gone up a power level and you can now upgrade it.
In this videogame there are five levels for each of these main tools, normal, copper, silver, gold and mystrile. If you get your tool’s power level to 100% you can then give your tool to the blacksmith along with a copper ore and some money and he’ll upgrade it into a copper tool.
To upgrade the tool you’ll need the power level at the right level and the corresponding ore plus a fee and three days for the blacksmith to make you the new tool. You can find the ore in the mine.
You can skip levels in this game too. You can upgrade your tool’s power level to 400% and then give it along with a mystrile ore to the blacksmith and get the mystrile version of that tool bypassing the other three upgrades. This is what I usually do as it ultimately saves money.
And remember, in this videogame the percentage is the amount above your tool’s current level. If you have a copper tool with 200% that means you can upgrade it to the gold version. You’ll see on the pause menu a little icon for the various upgrades that are available at any time for the tool too.
The tools gain almost 4 times as much experience if you use them for their intended use. For example, if you use your Axe to cut a tree stump it’ll gain almost 4 times the experience than it would gain if you just stood there hacking at the ground. It’ll still gain experience if you stand there hacking at the ground, it will just be a lot less.
| Tool | Ore Required | Cost to Upgrade |
| Copper Tool | Copper | 1,000g |
| Silver Tool | Silver | 2,000g |
| Gold Tool | Gold | 3,000g |
| Mystrile Tool | Mystrile | 5,000g |
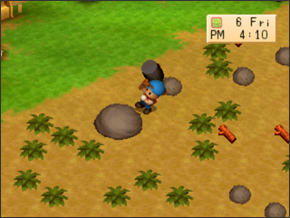
Hammer
Normal Hammer: can only break small rocks
Copper Hammer: can break large rocks in 4 fully charged strikes
Silver Hammer: can break large rocks in 2.5 fully charged strikes and misshapen rocks in 4.5 fully charged strikes.
Gold Hammer: can break large rocks in 1 fully charged strike and misshapen rocks in 2.5 fully charged strikes
Mystrile Hammer: can break large rocks and misshapen rocks with 1 fully charged strike
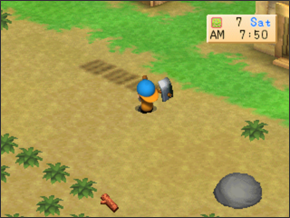
Hoe
Normal Hoe: plows one squre immediately in front of you
Copper Hoe: plows two squares in a line in front of you with a fully charged strike
Silver Hoe: plows three squares in a line in front of you with a fully charged strike
Gold Hoe: plows four squares in a line in front of you with a fully charged strike
Mystrile Hoe: plowes six squares in a line in front of you with a fully charged strike
Note: even if you upgrade your hoe and charge it up, in the mine you can still only plow one square at a time.
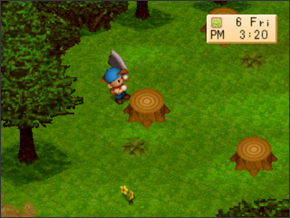
Axe
Normal Axe: can only cut tree branches
Copper Axe: can cut a tree stump in 6 fully charged strikes
Silver Axe: can cut a tree stump in 3 fully charged strikes
Gold Axe: can cut a tree stump in 2 fully charged strikes
Mystrile Axe: can cut a tree stump in 1 fully charged strike.
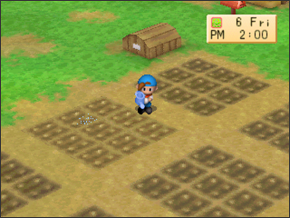
Watering Can
Normal Watering Can: waters only one square immediately in front of you
Copper Watering Can: waters a 1×3 area of land in front of you with a fully charged use
Silver Watering Can: waters a 2×3 area of land in front of you with a fully charged use
Gold Watering Can: waters the full 3×3 area of land in front of you with a fully charged use
Mystrile Watering Can: waters a 5×3 area of land in front of you with a fully charged use
Each of these watering cans holds 100 units of water maximum and you only lose water by watering a tilled tile. You can water the ground or whatever else as much as you want and you won’t lose any water.
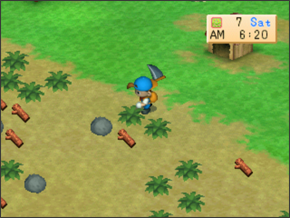
Sickle
Normal Sickle: cuts one square of grass, weeds or plants in front of you
Copper Sickle: cuts an area of 1×3 squares in front of you with a fully charged strike
Silver Sickle: cuts an area of 2×3 squares around you with a fully charged strike
Gold Sickle: cuts an area of 3×3 squares around you with a fully charged strike
Mystrile Sickle: cuts an area of 5×5 squares around you with a fully charged strike
In addition to the five starting tools you can also purchase or acquire five additional tools in Harvest Moon: Back to Nature.
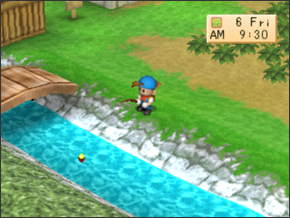
Fishing Rod and Fishing Pole
To get the fishing rod in this game talk to Greg on the end of the pier from 7:00 am to 10:00 or 7:00 pm to 10:00 pm on either Friday, Saturday or Sunday and Greg will give you the fishing rod.
To get the fishing pole which is an upgraded version of the fishing rod you have to have at least 50 fish in your pond. At that point Greg will come to your farm, complement you about your fish pond and give you the fishing pole.
It’s very important that you have an empty spot in your inventory for the fishing pole and that you don’t go inside and building or leave the farm before speaking to him or you’ll never be able to get the fishing pole.
To read more about fishing click here.
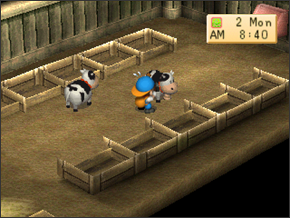
Brush
You can buy the brush from Saibara’s Shop for 800g.
The only real purpose of the brush is to brush your horse which will give it +2 Affection. You can brush your cows and your sheep and they may seem to like it but it has no effect on their Affection levels.
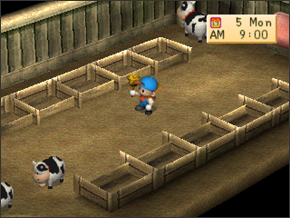
Bell
You can buy the bell from Yodel Ranch for 500g.
The bell will call all your cows and sheep towards you which is useful for herding them around. When I play this videogame I always just leave them in the barn though because that’s easier.
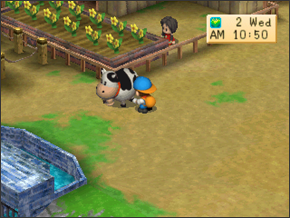
Milker
You can buy the milker from Saibara’s Shop for 2,000g.
The milker lets you milk your cows. It has no effect on your cows’ Affection levels.
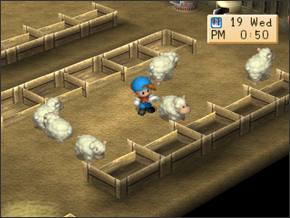
Clippers
You can buy the clippers from Saibara’s Shop for 1,800g.
The clippers let you clip wool from your sheep. Using the clippers has no effect on the Affection levels of your sheep.
Maker Machines
In addition to the tools there are also three "Maker Machines" in Harvest Moon: Back to Nature that turn your eggs, milk and wool into mayonnaise, cheese and yarn which all sell for a higher price. Saibara will make these for you if you’ve met a couple of conditions in the game.
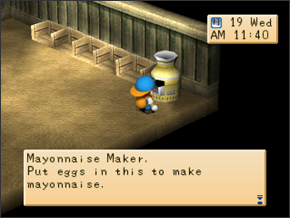
Mayonnaise Maker
Throw an egg into the Mayonnaise Maker to turn it into mayonnaise. You’ll get better mayonnaise depending on the Affection levels of your chickens.
You have to have upgraded your chicken coop before you can buy the maynnaise maker. The Mayonnaise Maker costs 20,000g plus 1 adamantite ore and will take 5 days to be built.
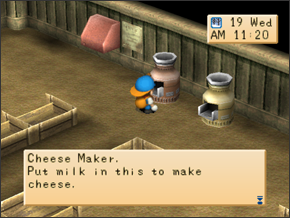
Cheese Maker
Throw milk into the cheese maker to turn it into cheese. The better milk you put in the better cheese you’ll get. You have to have upgraded your barn before you can buy the cheese maker. The Cheese Maker costs 20,000g plus 1 adamantite ore and will take 5 days to be built.
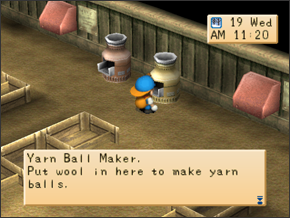
Yarn Maker
Throw wool into the yarn maker to turn it into wool. The higher quality wool you use the better yarn you’ll get. You have to have upgraded your barn before you can buy the yarn maker. The Yarn Maker costs 20,000g plus 1 adamantite ore and will take 5 days to be built.